Create and Manage GCP IaaS Cluster
Palette supports creating and managing Kubernetes clusters deployed to a Google Cloud Platform (GCP) account. This section guides you to create an IaaS Kubernetes cluster in GCP that Palette manages.
Limitations
- GPU machine types cannot be used to configure node pools.
Prerequisites
Ensure the following requirements are met before you attempt to deploy a cluster to GCP:
-
Access to a GCP cloud account
-
You have added a GCP account in Palette. Review Register and Manage GCP Accounts for guidance.
-
An infrastructure cluster profile for GCP. Review Create an Infrastructure Profile for guidance.
-
An SSH Key that is uploaded to Palette and available for usage. Refer to the SSH Keys guide to learn how to create an SSH key and upload the public key to Palette.
-
Palette creates compute, network, and storage resources while provisioning Kubernetes clusters. Ensure there is sufficient capacity in the preferred GCP region to create the following resources:
- Virtual Private Cloud (VPC) Network
- Static External IP Address
- Network Interfaces
- Cloud NAT
- Cloud Load Balancing
- Persistent Disks
- Cloud Router
warningFor static network deployments, you must have port 6443 open between Palette and the workload cluster. Refer to the Network Ports documentation for detailed network architecture diagrams and to learn more about the ports used for communication.
-
If configuring the Cert Manager pack , ensure that you use version 1.19.1 or later. It is also important to ensure:
crds.enabledis set tofalse.cainjector.enabledis set tofalseorcainjector.replicasis set to0.nodeSelectorornodeAffinityis set to prevent scheduling of Cert Manager on control pane nodes.
Deploy a GCP Cluster
-
Log in to Palette.
-
Ensure you are in the correct project scope.
-
From the left Main Menu select Clusters, and click Add New Cluster.
-
In Public Clouds, under Infrastructure Provider, select GCP IaaS.
-
In the bottom-right corner, click Start GCP IaaS Configuration.
-
Fill out the following basic information and click Next.
Field Description Cluster Name A custom name for the cluster. Description Use the description to provide context about the cluster. Tags Assign any desired cluster tags. Tags on a cluster are propagated to the Virtual Machines (VMs) deployed to the computing environments. Example: region:us-central1orzone:us-central1-a.Cloud Account If you already added your GCP account in Palette, select it from the drop-down Menu. Otherwise, click Add New Account and add your GCP account information. -
Choose between deploying your cluster using individual cluster profiles or a single cluster template.
- Cluster Profiles
- Cluster Templates
-
On the Cluster setup type window, choose Cluster Profiles > Add Cluster Profile.
-
Select the appropriate full or infrastructure cluster profile and Confirm your selection.
-
Review the layers of your cluster profile. Use the drop-down menus to select the appropriate cluster profile version, add necessary add-on profiles, and make changes to YAML configuration files as needed. When finished, select Next.
info- Cluster profile versions linked to cluster templates cannot be used in the cluster profile workflow.
- For ease of reuse and to persist changes across clusters using the same cluster profile, we recommend creating a new version of your cluster profile rather than making inline changes.
-
On the Cluster setup type window, choose Cluster Template > Select Cluster Template.
-
Select the appropriate cluster template and Confirm your selection.
-
Expand the Maintenance policy and Linked profiles panels to review the configuration of your cluster template.
If you need to make any changes, such as swapping your maintenance policy or updating your cluster profile version, you must exit the cluster deployment workflow and modify your cluster template before proceeding. If no changes are needed, select Next.
-
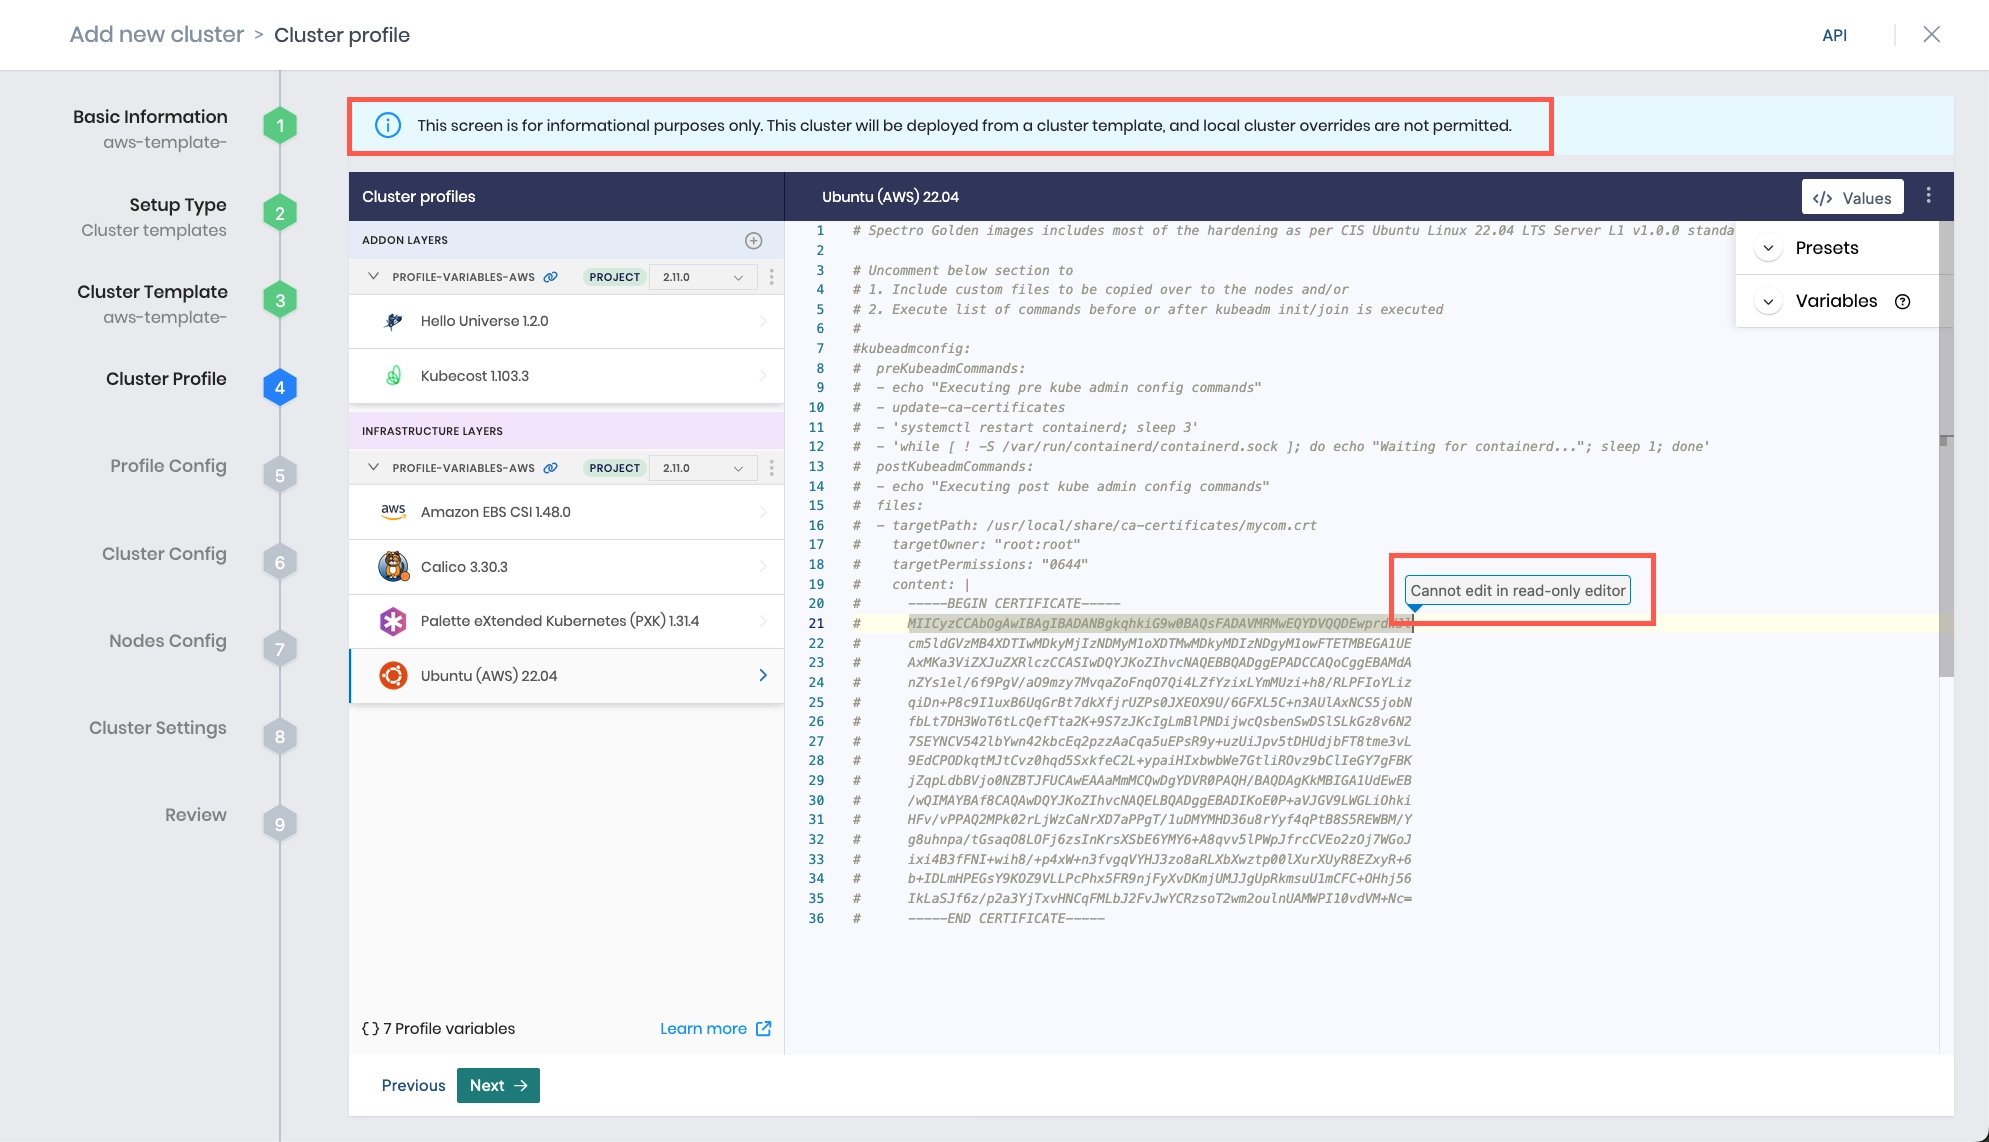
Review the layers of your cluster profile. If no changes are needed, select Next.
warningCluster profile changes, such as modifying your cluster profile version, adding additional add-on profiles, and editing YAML configuration files, are not allowed when deploying a cluster. Once a cluster profile is linked to a cluster template, that version of the cluster profile is locked to prevent configuration drift across clusters. If you need to make changes, you must create a new version of your cluster profile and modify your cluster template to use the new version.
-
The Profile variables configuration window opens if your cluster profile is configured to use cluster profile variables. Fill in the appropriate values, and select Next.
-
Fill out the following parameters and click Next when you are done.
Parameter Description Project The project to which the cluster belongs. Region Choose the desired GCP region to deploy the cluster. SSH Key Choose the desired SSH key. Refer to the SSH Keys guide to learn how to create an SSH key and upload the public key to Palette. Static Placement Check the Static Placement box to deploy resources into a pre-existing VPC. Review the Static Placement table below to learn more about the required input fields. Static Placement
Parameter Description Virtual Network Select the virtual network from the drop-down Menu. Control plane subnet Select the control plane network from the drop-down Menu. Worker Network Select the worker network from the drop-down Menu. -
Configure the control plane and worker node pool. Specify availability zones, instance types, disk size, the number of nodes, and autoscaler support, as necessary. Refer to the Node Pool documentation to learn more about the node pool configuration.
The minimum number of CPUs and amount of memory depend on your cluster profile, but in general you need at least 4 CPUs and 4 GB of memory both in the control plane pool and across all worker pools.
infoYou can add new worker pools to customize specific worker nodes to run specialized workloads. For example, the default worker pool may be configured with the c2.standard-4 instance types for general-purpose workloads. You can configure another worker pool with instance type g2-standard-4 to leverage supported machine types.
-
An optional taint label can be applied to a node pool during the cluster creation. You can edit the taint label on existing clusters. Review the Node Pool management page to learn more. Toggle the Taint button to create a label.
-
Enable or disable node pool taints. If tainting is enabled, then you need to provide values for the following parameters.
Parameter Description Key Custom key for the taint. Value Custom value for the taint key. Effect Choose the preferred pod scheduling effect from the drop-down Menu. Review the Effect Table below for more details. Effect Table
Parameter Description NoSchedule A pod that cannot tolerate the node taint and should not be scheduled to the node. PreferNoSchedule The system will avoid placing a non-tolerant pod on the tainted node but is not guaranteed. NoExecute New pods that do not tolerate the taint will not be scheduled on the node, and existing pods on the node, if any, will be evicted if they do not tolerate the taint. -
Click Next after configuring the node pool.
-
On the Cluster Settings page, configure additional options as needed. If you are deploying your cluster using cluster templates, a Cluster Timezone is required.
Left Menu Item Additional Information Cluster Timezone Specify the time zone where your cluster is being deployed. The time zone is used in maintenance policies to determine when updates are rolled out to clusters deployed with cluster templates. Manage machines Set an OS patching schedule and specify node behavior when creating your cluster, including upgrading your nodes to use the latest OS patch version and allowing reboots. Schedule scans Enable any scan options you want Palette to perform and select a scan schedule. Palette supports Kubernetes configuration security, penetration testing, and conformance testing. Refer to Compliance Scan for details on each scan type. Schedule backups Schedule backups for your entire cluster or etcd. Refer to Backup and Restore for more information. RBAC Map a set of users or groups to a Kubernetes RBAC role. This is required when custom OIDC is configured. Refer to the following guides for more information:
- Create Role Bindings
- Palette eXtended Kubernetes (PXK) -
Select Validate to review your cluster configurations and settings.
-
If no changes are needed, select Finish Configuration to deploy your cluster.
To monitor the status of your cluster deployment, from the left main menu, select Clusters and choose your cluster. The cluster Overview tab displays the status and health of your cluster, as well as deployment details. Use the Events tab to monitor the deployment in real time. Provisioning may take several minutes.
Validate
You can validate that your cluster is up and available by reviewing the cluster details page.
-
Log in to Palette.
-
Navigate to the left Main Menu and click Clusters.
-
The Clusters page lists the available clusters that Palette manages. Select your cluster to review its details.
-
From the cluster details page, verify the Cluster Status field displays Running.